If you rely on your air compressor for work or DIY projects, a damaged hose can bring everything to a halt. You don’t have to waste time or money replacing the entire hose when a simple repair kit can fix the problem quickly and easily.
Imagine getting your hose back in action in no time, saving both effort and cash. You’ll discover how an air compressor hose repair kit can be your best solution, what to look for, and step-by-step tips to get the job done right.
Keep reading to make sure your tools are always ready when you need them most.
Choosing The Right Repair Kit
Choosing the right air compressor hose repair kit can save time and money. A suitable kit ensures your hose works well and lasts longer. Not all kits fit every hose type or material. Understanding your hose and repair tools is key to an effective fix.
Types Of Air Compressor Hoses
Air compressor hoses come in different types. Some are rubber, others are PVC or hybrid. Each type handles pressure and temperature differently. Knowing your hose type helps pick the right repair parts. Using wrong parts can cause leaks or damage.
Materials And Compatibility
Repair kits include fittings and patches made from various materials. Common materials are brass, steel, and plastic. Choose materials that match or suit your hose. Material mismatch can cause rust or weak seals. Always check for compatibility before buying a kit.
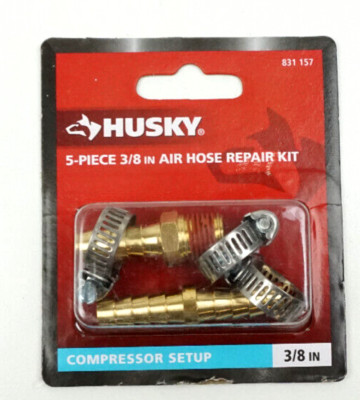
Essential Tools In A Repair Kit
A good repair kit has more than just patches. It often includes clamps, connectors, and tools. Tools like wrenches or cutters help fit parts securely. Having all essentials in one kit speeds up repair work. Check the kit contents carefully before purchase.
Common Hose Problems
Air compressor hoses face many common problems that affect their performance. Knowing these issues helps in quick repair and prevents downtime. Regular checks keep your hose in good shape and extend its life.
Leaks And Punctures
Leaks and punctures reduce air pressure and slow down work. Small holes can grow bigger if not fixed fast. Repair kits help seal these leaks easily. Look for air escaping or hissing sounds near the hose.
Wear And Tear Signs
Wear and tear appear as cracks, splits, or worn spots on the hose. These signs show the hose is aging or overused. Replace or repair the hose to avoid sudden breaks. Check hoses often for any damage or hard spots.
Connection Issues
Loose or damaged connectors cause air leaks and poor performance. Tighten fittings to secure connections. Sometimes, connectors wear out and need replacement. Ensure all connections fit snugly to keep air pressure steady.
Step-by-step Repair Process
Repairing an air compressor hose is simpler than many think. A proper repair kit helps restore the hose quickly. Follow these clear steps to fix the hose correctly and safely.
Preparing The Hose
First, clean the damaged area thoroughly. Remove dirt, oil, and moisture using a cloth. Cut the hose ends straight and smooth with scissors or a knife. This step ensures the patch or coupler fits perfectly. Measure the damaged part to choose the right size for repair.
Applying Patch Or Coupler
For small holes, use a patch from the repair kit. Place the patch over the damaged spot and press firmly. For larger breaks, use a coupler. Insert the cut ends of the hose into each side of the coupler. Make sure the hose fits snugly to avoid leaks.
Sealing And Testing
Seal the repair using the adhesive or tape included in the kit. Wrap the area tightly to prevent air leaks. Let the adhesive dry as instructed. After drying, connect the hose to the air compressor. Turn on the compressor and check for air leaks by listening or feeling for escaping air.

Credit: www.amazon.com
Maintenance Tips For Longevity
Maintaining your air compressor hose repair kit properly helps it last longer. Simple care steps prevent wear and keep the kit ready for use. Follow these tips to avoid early damage and save money.
Proper Storage Methods
Store the hose repair kit in a cool, dry place. Avoid direct sunlight or heat sources. Keep it away from sharp objects that can cut or puncture. Coil hoses loosely to prevent kinks. Use hooks or reels to hang hoses off the ground.
Regular Inspection Routines
Check the hose and repair parts before each use. Look for cracks, leaks, or worn areas. Test connections to ensure they are tight. Replace damaged parts immediately. Regular checks catch small problems early.
Avoiding Common Damages
Do not drag the hose across rough surfaces. Avoid bending the hose sharply or twisting it. Keep it clean from oil, chemicals, and dirt. Avoid over-pressurizing the hose beyond its limit. Handle repair parts gently to prevent breaks.
When To Replace Instead Of Repair
Knowing when to replace an air compressor hose instead of repairing it saves time and money. Repairs work well for small problems. But some damages need full replacement to keep the hose safe and reliable.
Assessing Damage Severity
Check the hose closely for cracks, cuts, or deep wear. Small holes can be patched with a repair kit. Large tears or worn-out areas need replacement. Damage near the fittings is often not fixable. A hose with many weak spots should not be repaired.
Cost Vs. Benefit Analysis
Compare the cost of repair kits and new hoses. Repair kits are cheaper but only fix minor issues. A new hose lasts longer and works better. Spending more now avoids frequent repairs later. Consider how often the hose will be used too.
Safety Considerations
Damaged hoses can burst under pressure and cause injury. Repairing a badly damaged hose risks sudden failure. New hoses meet safety standards and reduce accidents. Always prioritize your safety over saving a few dollars. Replace hoses that show signs of serious damage or wear.
Credit: www.amazon.com

Credit: www.ebay.com
Frequently Asked Questions
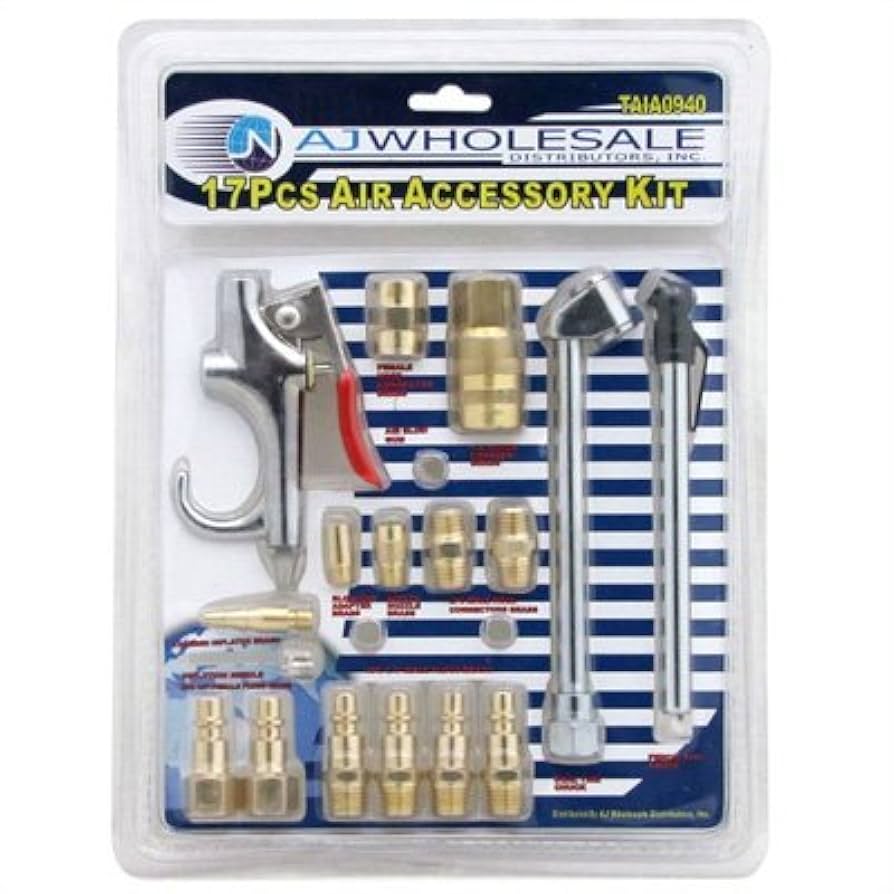
What Is Included In An Air Compressor Hose Repair Kit?
An air compressor hose repair kit usually contains connectors, couplers, clamps, and sealing tape. These parts help fix leaks and ensure airtight connections. Kits vary, so check contents before purchase. They are designed for easy, quick hose repairs to save time and money.
How Do I Use An Air Compressor Hose Repair Kit?
Start by identifying the leak or damage. Cut the hose cleanly at the damaged spot. Attach the connectors or couplers from the kit. Secure with clamps and use sealing tape if provided. Test the hose for leaks before full use to ensure a proper fix.
Can I Repair Any Air Compressor Hose With A Repair Kit?
Most standard hoses can be repaired using a kit. However, very old or severely damaged hoses may need replacement. Always check the kit compatibility with your hose type. Using the right kit ensures a safe, long-lasting repair and maintains air pressure efficiency.
How Long Does An Air Compressor Hose Repair Last?
A proper repair can last several months to years. Durability depends on the hose condition and repair quality. Regularly inspect your hose after repair to catch new leaks early. Using quality repair kits extends the hose life and keeps your compressor working efficiently.
Conclusion
A good air compressor hose repair kit saves time and money. It fixes leaks and cracks quickly. You can keep your tools working longer. The kit is easy to use for anyone. Regular maintenance with the right tools prevents bigger problems.
Choose a repair kit that fits your hose size. This simple step keeps your compressor running smoothly. Don’t let a small leak stop your work. Repair it fast and get back to the job. Simple, effective, and practical—just what you need.