Is your air compressor hose showing signs of wear or leaks? If so, replacing it might be the key to keeping your tools running smoothly and your projects on track.
You rely on your air compressor every day, and a faulty hose can slow you down or even cause safety hazards. You’ll discover simple, clear steps to replace your air compressor hose quickly and safely. By the end, you’ll have the confidence to handle this task yourself and avoid costly repairs or downtime.
Keep reading to protect your equipment and boost your productivity!
Signs Of A Damaged Hose
Knowing the signs of a damaged air compressor hose helps avoid bigger problems. A faulty hose can stop your tools from working right. It can also cause safety risks. Watch closely for changes in your hose’s condition. Early detection saves time and money.
Visible Wear And Tear
Check the hose surface for cracks or cuts. Look for areas that feel weak or soft. Dirt and oil stains can hide damage. Bulges or bubbles on the hose mean it is worn out. Replace the hose if you see these signs.
Air Pressure Loss
Low air pressure can mean a hose leak. Use a pressure gauge to test the hose. Notice if the pressure drops quickly. A hose with holes cannot keep pressure steady. This reduces the power of your tools.
Unusual Noises
Listen for hissing or whistling sounds near the hose. These noises often mean air is escaping. Strange noises can also signal loose fittings or cracks. Noises during use show the hose needs repair or replacement.

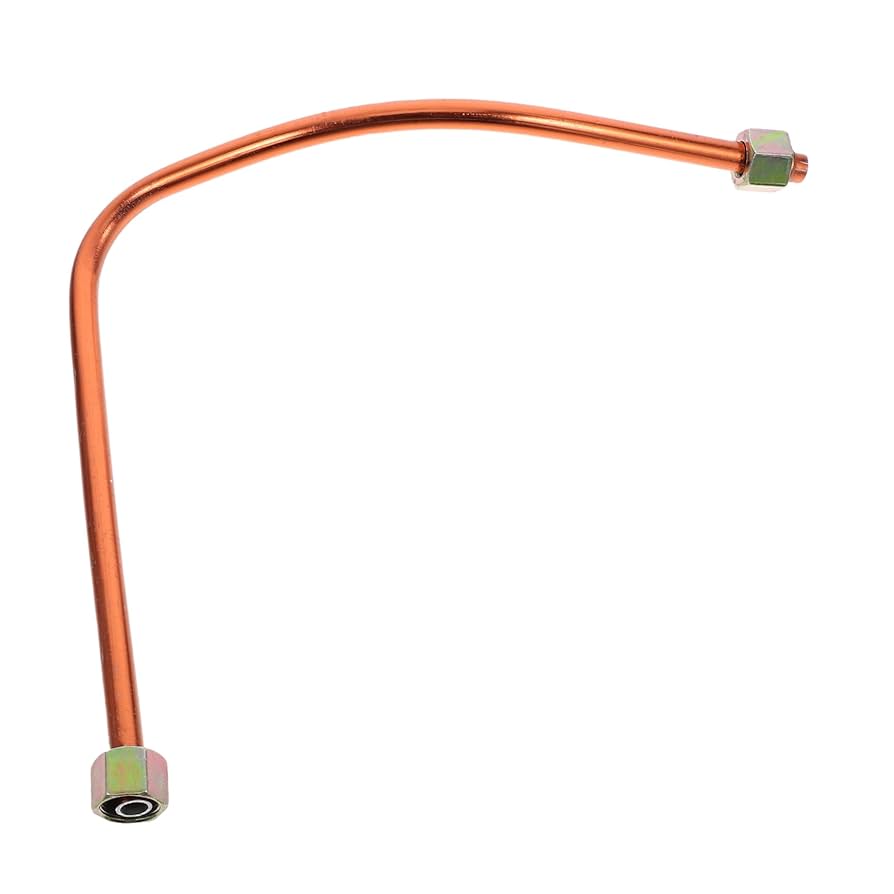
Credit: www.ebay.ca
Choosing The Right Replacement Hose
Choosing the right replacement hose for your air compressor is important. The hose must fit your needs and work well with your tools. Picking the wrong hose can cause leaks or reduce air pressure. A good hose keeps your work smooth and safe.
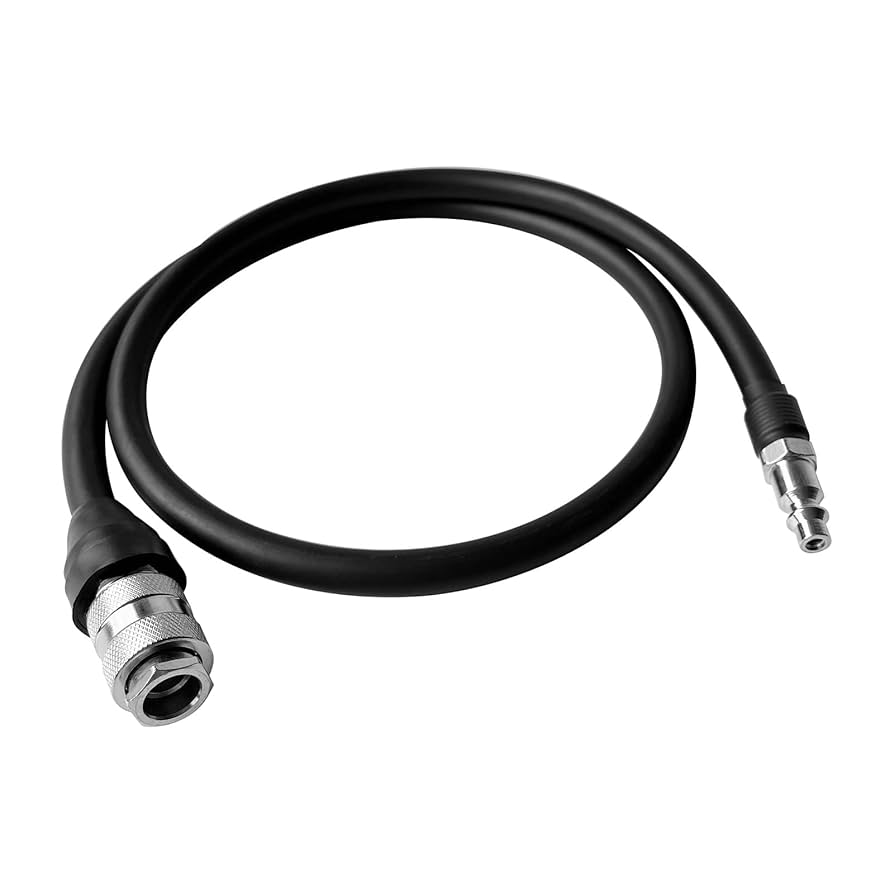
Material Types
Air compressor hoses come in different materials. Common types include rubber, PVC, and polyurethane. Rubber hoses are strong and flexible. PVC hoses are lightweight but less flexible. Polyurethane hoses resist kinks and last longer. Choose a material that suits your work environment and durability needs.
Length And Diameter
Length affects how far you can move your tools. Too short limits your reach. Too long can reduce air pressure. Diameter controls the air flow. Larger diameters deliver more air but can be heavier. Pick a length and diameter that balance comfort and performance.
Compatibility With Tools
Check if the hose fits your air tools and compressor. The connectors must match. Some hoses have universal fittings, while others need specific types. Using the right connectors prevents air leaks and tool damage. Confirm compatibility before buying a replacement hose.
Tools Needed For Replacement
Replacing an air compressor hose requires the right tools. Using proper tools ensures a safe and smooth replacement. The right tools make the job easier and faster. Here are the essential tools you need for air compressor hose replacement.
Wrenches And Pliers
Wrenches help loosen and tighten fittings on the hose. Adjustable wrenches work well for different sizes. Pliers provide extra grip on stubborn parts. Needle-nose pliers are useful for reaching small areas. Choose tools that fit comfortably in your hands.
Teflon Tape And Sealants
Teflon tape prevents air leaks at the connection points. Wrap the tape around threaded ends before attaching the hose. Pipe sealants also help create airtight seals. Use them sparingly to avoid clogging the hose. These materials ensure a tight, leak-free fit.
Safety Gear
Safety gear protects you during the replacement process. Wear safety goggles to shield your eyes from debris. Use gloves to protect your hands from sharp edges. Closed-toe shoes keep your feet safe from dropped tools. Always prioritize safety for a smooth repair job.
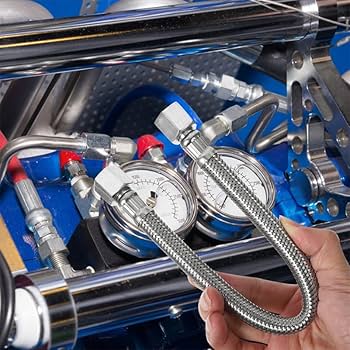
Credit: www.amazon.ca
Step-by-step Replacement Process
Replacing an air compressor hose is a simple task. It keeps your tool working well and safe. Follow these clear steps to swap your old hose with a new one. The process takes just a few minutes. No special tools needed. Just some care and patience.
Shutting Off The Air Supply
First, turn off the air compressor. Find the main power switch or unplug the machine. Next, release any air pressure inside the hose. Use the pressure release valve or pull the hose connector. Make sure no air leaks before starting work.
Removing The Old Hose
Locate where the hose connects to the compressor. Unscrew or unclip the hose end carefully. Hold the fitting steady to avoid damage. Pull the hose away from the connection. Check the old hose for cracks or wear signs.
Installing The New Hose
Take the new hose and align it with the fitting. Push or screw it on firmly but gently. Avoid overtightening to prevent damage. Make sure the connection is tight and secure. The hose should not move when pulled lightly.
Testing For Leaks
Turn the air compressor back on. Listen closely for any hissing sounds near the hose. Spray soapy water on the connections. Bubbles show where air leaks out. Tighten or reseat the hose if leaks appear. A perfect seal means the job is done.
Preventing Future Hose Damage
Preventing damage to your air compressor hose saves time and money. Proper care extends the hose’s life. Simple steps help avoid common problems and keep your hose working well.
Proper Storage Tips
Store the hose in a cool, dry place. Avoid direct sunlight and heat sources. Coil the hose loosely to stop kinks and cracks. Use hooks or reels to keep it off the ground. This prevents dirt and moisture buildup.
Regular Maintenance Checks
Check the hose for cracks, leaks, or wear often. Inspect the fittings for tightness and damage. Clean the hose with a soft cloth to remove dirt. Replace worn parts before they cause bigger problems. Frequent checks catch issues early and save costs.
Avoiding Common Mistakes
Do not stretch the hose too far during use. Avoid dragging it over rough surfaces or sharp edges. Never use the hose for tasks it is not made for. Avoid twisting the hose when connecting or disconnecting. These habits cause damage and reduce hose life.
Credit: www.amazon.ca
Frequently Asked Questions
What Signs Indicate Air Compressor Hose Replacement?
Look for cracks, leaks, or bulges on the hose. Reduced air pressure or frequent hose failures also signal replacement needs.
How Often Should I Replace My Air Compressor Hose?
Replace your hose every 2-3 years or sooner if damaged. Regular inspection helps determine the right time for replacement.
Can I Use Any Hose For Air Compressor Replacement?
No, use hoses rated for your compressor’s pressure. Ensure compatibility with your tool and the type of air being used.
How Do I Safely Replace An Air Compressor Hose?
Turn off and depressurize the compressor first. Disconnect the old hose, then securely attach the new hose fittings.
Conclusion
Replacing an air compressor hose keeps your tools working well. A good hose prevents leaks and saves time. Check your hose often for cracks or damage. Choose the right size and material for your needs. Proper installation helps avoid problems later.
Taking care of your hose means better performance. Stay safe by replacing worn-out hoses quickly. Keep your projects running smoothly with a strong hose. Small effort, big difference.