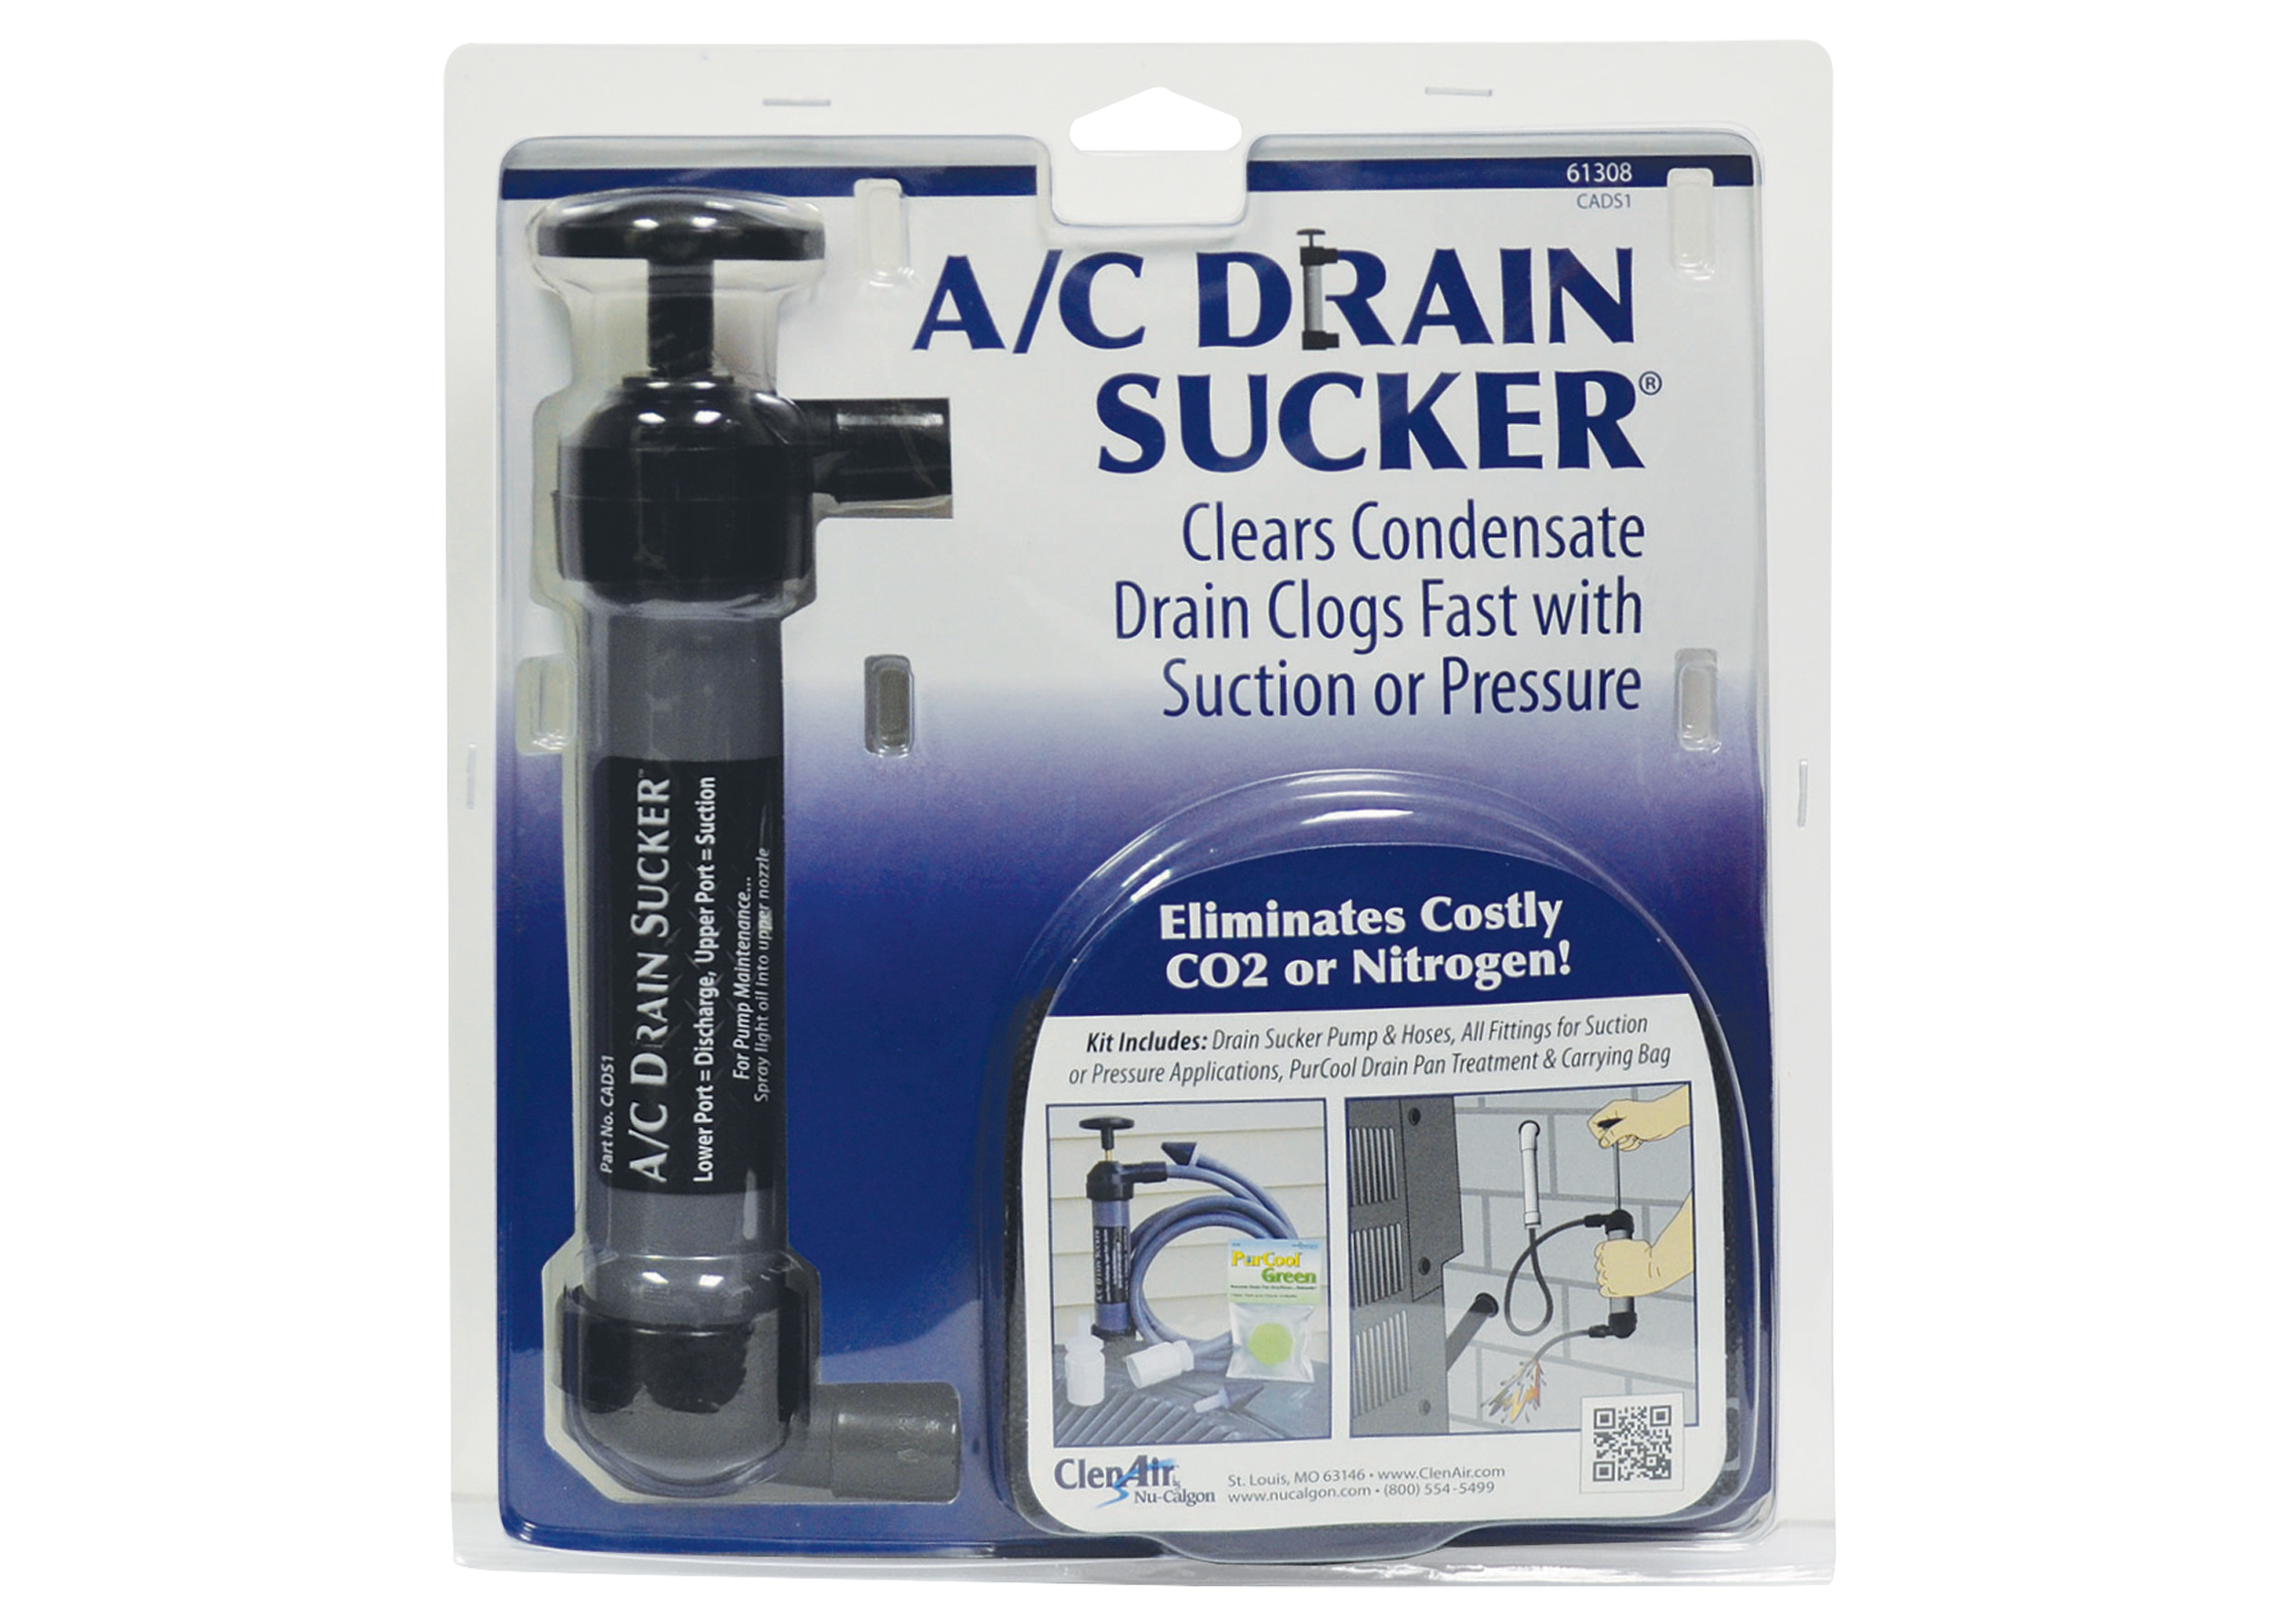
To blow out an AC drain line with an air compressor, attach the compressor to the drain line and apply air pressure. Ensure the line is clear by checking for debris.
Clogged AC drain lines can cause serious issues, including water damage and reduced efficiency. Regular maintenance of these lines is crucial to keep your system running smoothly. Using an air compressor to clear the drain line is an effective method.
It’s a quick and straightforward process that helps prevent blockages and ensures proper drainage. This guide will walk you through the steps to safely and efficiently clear your AC drain line using an air compressor, ensuring your system remains in top condition. Regular checks can save you from costly repairs.
Tools And Materials Needed
To effectively blow out an AC drain line with an air compressor, you need specific tools and materials. Having everything ready ensures a smooth process. Below, we outline the essential tools and safety gear required for this task.
Essential Tools
Gathering the right tools is crucial. Ensure you have the following items:
- Air Compressor: This is the main tool for clearing the drain line.
- Air Hose: Connects the compressor to the drain line.
- Fittings: Helps attach the air hose to the drain line.
- Bucket: Catches water and debris from the drain line.
- Rags: Useful for cleaning up any spills.
Safety Gear
Prioritize safety while handling the air compressor. Use the following safety gear:
- Safety Glasses: Protects your eyes from debris.
- Gloves: Keeps your hands safe from sharp objects.
- Ear Protection: Air compressors can be loud, so protect your ears.
Preparation Steps
Preparation Steps:
Turn Off Power
Make sure to turn off the power to the air conditioning unit before starting.
Gather Tools
Collect the necessary tools like an air compressor, safety goggles, and a wet/dry vacuum.
Locating The Ac Drain Line
To clear your AC drain line, you must first locate it. This step is crucial. Without finding the drain line, you can’t proceed.
Identify The Line
Your AC drain line is a small PVC pipe. It often sticks out from your home. Look near the indoor air handler unit. This unit is usually in the attic or utility closet.
Check for a white or gray pipe. This pipe should lead to the outside. It might have a slight downward slope. This slope helps water flow out.
Access Points
Once you find the drain line, locate the access points. These are openings where you can insert tools.
- Look for a T-shaped vent. This is usually near the air handler.
- Check for a cap or cover. Remove it to access the line.
- Some lines have multiple access points. Check both indoors and outdoors.
Access points make it easier to clean the line. They allow you to insert an air compressor nozzle. Ensure the area is clear before starting.
With the drain line located and access points identified, you’re ready for the next steps. Clearing the line will prevent water damage and improve AC performance.
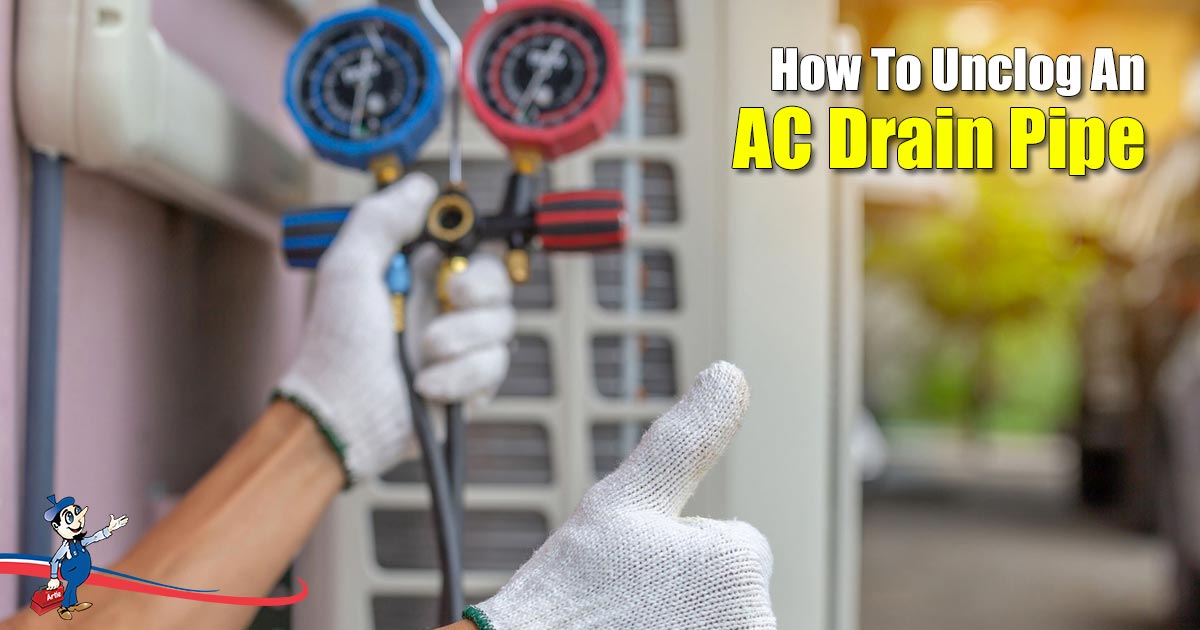
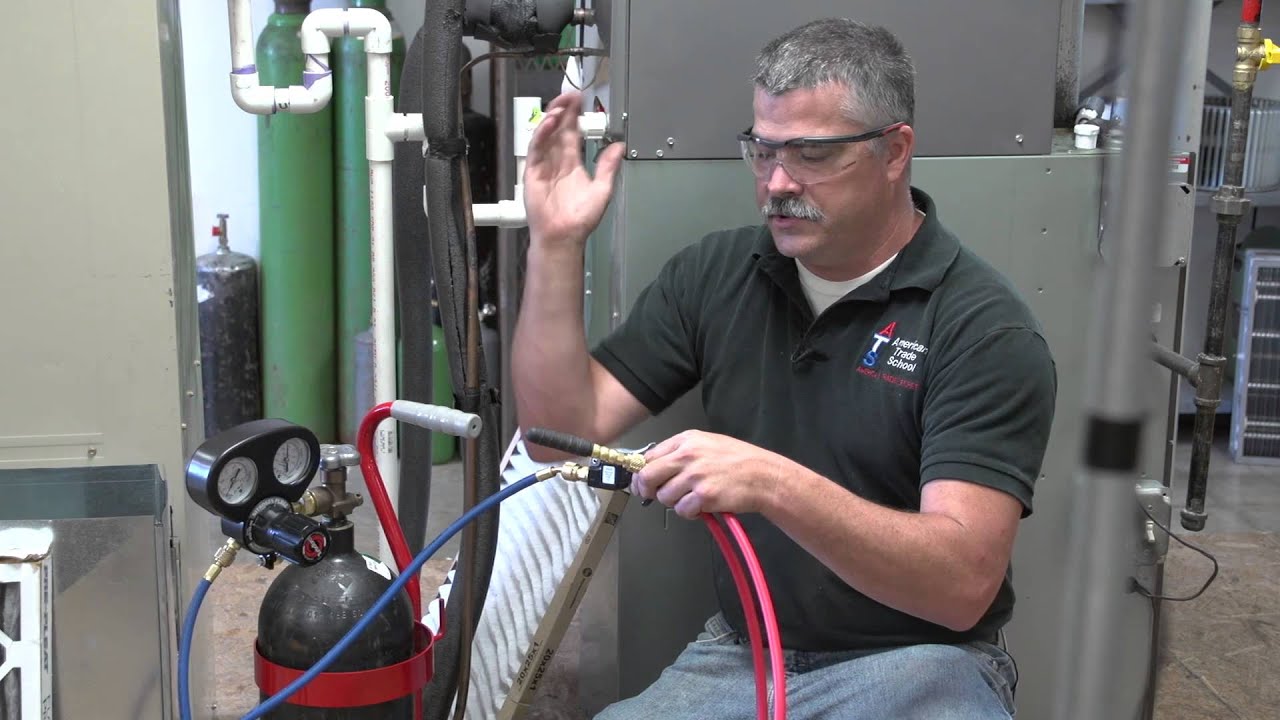
Setting Up The Air Compressor
Setting up your air compressor is crucial for clearing your AC drain line. Follow these steps to ensure your compressor is ready for the task. This will help you avoid common mistakes and get the job done efficiently.
Compressor Settings
Before you start, check the pressure settings on your air compressor. The pressure should be set between 80-100 PSI for optimal performance. Too much pressure can damage the drain line. Too little pressure might not clear the clog.
Use the pressure regulator to adjust the settings. Most compressors have a knob for this purpose. Turn the knob clockwise to increase pressure and counterclockwise to decrease it. Monitor the pressure gauge to ensure it stays within the desired range.
Connecting Hoses
Next, you need to connect the hoses properly. Start by attaching the air hose to the compressor. Ensure it is tightly connected to avoid air leaks. Use a wrench if necessary.
Then, connect the other end of the hose to the blowgun or nozzle attachment. Make sure this connection is also secure. A loose connection can reduce the efficiency of the air flow.
Once everything is connected, turn on the air compressor. Check for any air leaks by listening for hissing sounds. If you hear any, tighten the connections further.
| Step | Description |
|---|---|
| Check Pressure | Set between 80-100 PSI |
| Adjust Regulator | Turn knob to adjust pressure |
| Connect Air Hose | Ensure tight connections |
| Attach Blowgun | Secure nozzle att |
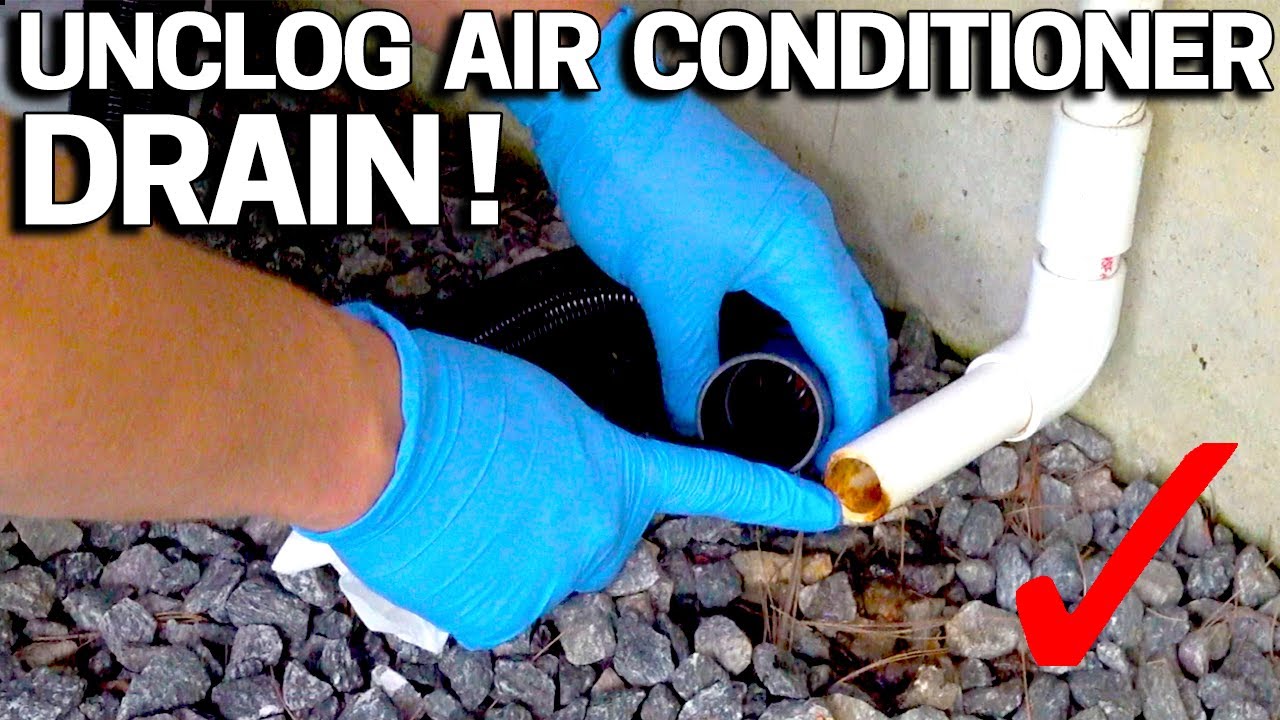
Blowing Out The Drain Line
Blowing out your AC drain line is crucial for maintenance. It prevents clogs and mold build-up. Using an air compressor makes this task easier and more efficient. Here’s a step-by-step guide on how to do it right.
Initial Burst
Start by locating the AC drain line. Attach the air compressor’s nozzle to the drain line opening. Ensure a tight seal to avoid air leaks. Set the air compressor to a low-pressure setting. This prevents any damage to the drain line. Give a quick, initial burst of air into the drain line. This burst dislodges any loose debris.
Continuous Air Flow
After the initial burst, set the air compressor to a steady flow. Continuous air flow ensures all debris is cleared. Maintain a steady air pressure. Avoid using high pressure to prevent damage. Keep the air flowing until you see clear water coming out. This indicates the drain line is clean.
Here’s a quick summary in a table:
| Step | Action |
|---|---|
| Locate Drain Line | Find the drain line opening. |
| Attach Nozzle | Ensure a tight seal with the air compressor nozzle. |
| Initial Burst | Set to low pressure and give a quick burst. |
| Continuous Flow | Maintain steady air flow until clear water appears. |
Remember to check the drain line regularly. Keeping it clean ensures your AC runs efficiently. Happy cleaning!
Checking For Blockages
Before you start blowing out your AC drain line with an air compressor, checking for blockages is essential. This step ensures you identify the problem areas and effectively clear them using the compressor.
Inspect Drain Line
Begin by inspecting the drain line for visible clogs. Look at the drain pan and the line itself. Use a flashlight to see inside the line. Check for any dirt, algae, or debris.
- Locate the drain line near your AC unit.
- Use a flashlight to look inside.
- Identify any visible blockages.
Repeat Process If Needed
Sometimes, a single attempt may not clear the drain line. Repeat the process to ensure all blockages are removed. This guarantees a smooth and functional drain line.
- Inspect the drain line again after the first attempt.
- Blow air through the line a second time.
- Check for any remaining blockages.
Reassembling And Testing
Once you have successfully cleared your AC drain line, the next crucial step is reassembling and testing the system. This ensures that everything is back in place and functioning correctly.
Reconnect Components
Begin by reconnecting all the components you had removed earlier. This includes the drain line and any other parts you may have detached. Use the original screws and fittings to secure everything tightly. Double-check to make sure no parts are loose or out of place.
Power On And Test
Once all components are reconnected, restore power to your AC unit. Turn on the system and let it run for a few minutes. Observe the drain line to make sure water is flowing out smoothly. If the line remains clear, you’ve successfully completed the task.
If you encounter any issues during this phase, refer back to the disassembly steps to ensure everything is properly reassembled. It’s crucial that the system operates efficiently to prevent future blockages.
| Step | Action |
|---|---|
| 1 | Reconnect the drain line and other detached parts |
| 2 | Secure parts with original screws and fittings |
| 3 | Restore power to the AC unit |
| 4 | Run the system and check the drain line |
Following these steps will help you ensure that your AC system is back up and running smoothly. Regular maintenance of your drain line can prevent future issues and extend the life of your unit.
Maintenance tips
Keeping your AC drain line clean is important. This prevents clogs and water damage. Using an air compressor is a great method to clear the drain lines. Below are some key maintenance tips.
Regular Cleaning
Regular cleaning of your AC drain line is essential. Debris and dirt can clog the line. Clean it every few months to ensure smooth operation.
- Check the drain line monthly.
- Use a brush to remove visible debris.
- Flush the line with water to clear minor clogs.
Preventive Measures
Taking preventive measures helps avoid major problems. Preventive actions can save you time and money.
- Install a drain line cover to keep out debris.
- Use an algae inhibitor to prevent build-up.
- Inspect the line for leaks or cracks.
| Maintenance Task | Frequency |
|---|---|
| Check and clean drain line | Monthly |
| Flush with water | Every few months |
| Inspect for leaks | Quarterly |
Frequently Asked Questions
How Do I Blow Out My Ac Drain Line?
To blow out your AC drain line, use an air compressor. Attach the compressor to the drain line and apply short bursts of air. This will clear any clogs.
Can An Air Compressor Clear Ac Drain Lines?
Yes, an air compressor can effectively clear AC drain lines. It uses pressurized air to push out blockages and restore proper drainage.
How Often Should I Clean My Ac Drain Line?
You should clean your AC drain line at least once a year. Regular cleaning prevents clogs and keeps your AC system running smoothly.
What Psi Should I Use For Ac Drain Line?
For AC drain lines, use an air compressor set between 20-30 PSI. This pressure range effectively clears clogs without damaging the line.
Conclusion
Blowing out your AC drain line with an air compressor ensures efficient cooling. Regular maintenance prevents clogs and potential damage. Follow the steps carefully to maintain a healthy AC system. Remember, a clear drain line prolongs your unit’s lifespan and enhances performance.
Enjoy a hassle-free, cool environment all year round.