If you rely on your Porter Cable air compressor for your projects, you know how important every part is—especially the hose. A worn-out or damaged hose can slow you down, cause leaks, or even stop your work altogether.
But replacing your Porter Cable air compressor hose doesn’t have to be confusing or frustrating. In this guide, you’ll discover simple steps to get your compressor running smoothly again. Keep reading to make sure you get the right hose and install it the right way—so you can get back to work without delay.

Credit: espacioeslava.com
Tools And Materials Needed
Replacing the air compressor hose on your Porter Cable tool needs the right tools and materials. Using the proper items makes the job easier and safer. Prepare everything before starting to avoid delays and mistakes.
Choosing The Right Hose
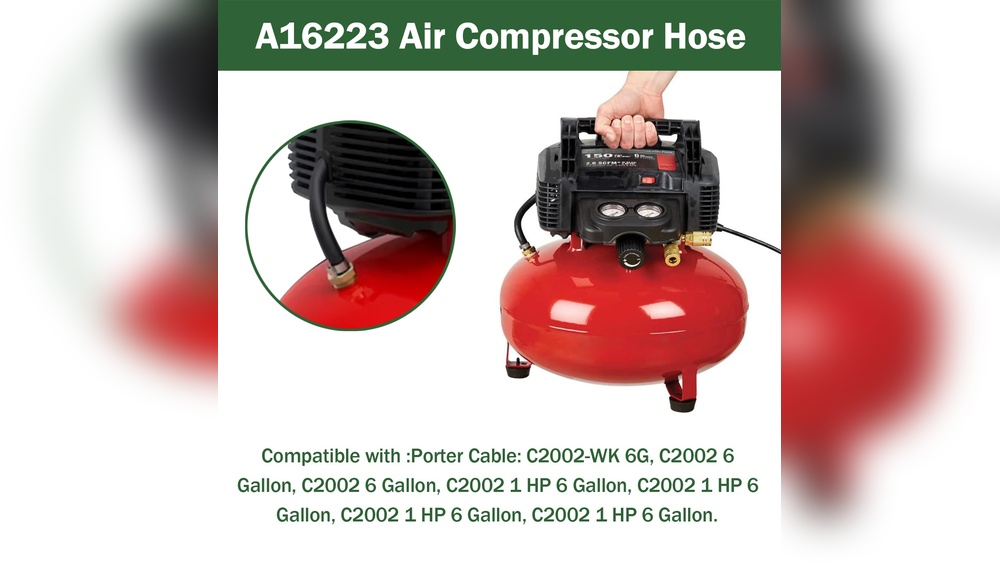
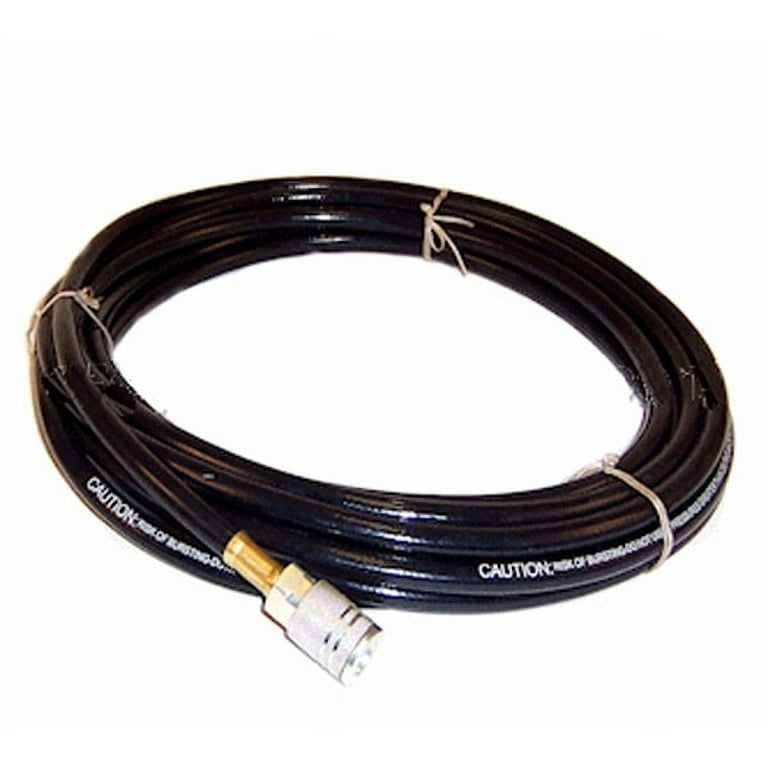
Select a hose that fits your Porter Cable air compressor. Check the diameter and length needed. Use hoses made for air compressors only. Look for durable, flexible material like rubber or PVC. Make sure the hose can handle the pressure your compressor produces. A good hose keeps air flow steady and prevents leaks.
Essential Tools For Replacement
Gather these tools to replace the hose efficiently. You will need a wrench set to loosen and tighten fittings. Use pliers for gripping and cutting if necessary. Have Teflon tape ready to seal threaded connections. A utility knife helps remove old hose sections cleanly. Keep a clean cloth nearby to wipe any dirt or oil.
Credit: www.walmart.com
Safety Precautions
Safety is key when replacing a Porter Cable air compressor hose. It protects you and keeps the tool working well. Taking the right steps can stop accidents and damage. Always follow safety rules before and during the replacement process.
Disconnecting The Compressor
Always turn off the compressor before you start. Unplug it from the power source to avoid electric shocks. Next, release all air pressure by opening the drain valve. Make sure the pressure gauge reads zero. This step prevents sudden air bursts that can cause injury.
Handling Compressed Air Safely
Compressed air is powerful and can hurt you if not handled right. Never point the hose at yourself or others. Use eye protection to guard against flying debris. Check the hose for cracks or leaks before use. Replace damaged hoses immediately to avoid accidents.
Removing The Old Hose
Removing the old hose from your Porter Cable air compressor is a simple task. It prepares the tool for a new, efficient hose. Careful removal prevents damage to the compressor and saves time during replacement.
Locating The Hose Connections
Start by finding where the hose attaches to the compressor. Usually, it connects near the air outlet. Check both ends of the hose for fittings or clamps. These points secure the hose to the compressor and tools.
Look for threaded connections or quick-connect fittings. These are the most common types on Porter Cable models. Knowing the connection type helps with easy removal.
Detaching The Hose From The Compressor
Turn off the compressor and unplug it from power. Release any air pressure by opening the drain valve. This step ensures safety and stops air from escaping suddenly.
Use your hand or a wrench to unscrew the hose fitting. For quick-connect fittings, pull back the collar to release the hose. Keep a firm grip to avoid dropping the hose or damaging the fittings.
After detaching, inspect the hose ends for wear. Clean the connections to prepare for the new hose installation.
Installing The New Hose
Installing the new hose on your Porter Cable air compressor is a simple process. It helps keep your tool working safely and efficiently. This part will guide you through the steps to attach the new hose properly. Follow each step carefully for the best results.
Preparing The Hose Ends
Start by checking the ends of the new hose. Cut any rough or damaged edges clean with a sharp knife. Make sure the ends are smooth and even. Remove any dirt or debris inside the hose. This ensures a tight seal and prevents leaks.
Next, slide the hose clamps or fittings onto the hose ends. Do not tighten them yet. Check that the fittings match your compressor’s connectors. Proper fit helps avoid air leaks and keeps the hose secure.
Securing The Hose To The Compressor
Attach one hose end to the compressor’s air outlet. Push the hose firmly onto the connector. Slide the clamp or fitting into place over the connection. Use a screwdriver or wrench to tighten it securely.
Do the same for the other hose end, attaching it to the tool or accessory. Double-check both connections for tightness. A secure fit stops air leaks and ensures your compressor works well. Test the hose by turning on the compressor and watching for leaks.
Testing The New Hose
Testing the new hose is a key step after replacing your Porter Cable air compressor hose. It ensures the hose works safely and efficiently. Skipping this step can cause problems like air leaks or poor performance. Proper testing saves time and prevents damage to your tools.
Checking For Leaks
Start by connecting the new hose tightly to the compressor. Turn on the air compressor at low pressure first. Listen closely for any hissing sounds that show air escaping. Use soapy water to spray on hose joints. Bubbles mean there is a leak. Tighten fittings or replace parts if needed. No bubbles? The hose is sealed well.
Ensuring Proper Air Flow
Next, increase the air pressure to the normal working level. Feel the hose for strong airflow from the outlet. Weak airflow can mean blockages or poor hose quality. Check connections again to avoid air loss. A steady, strong flow confirms the hose is working fine. Now, you can use your air compressor safely.
Maintenance Tips
Proper maintenance helps your Porter Cable air compressor hose last longer. It also keeps your work safe and efficient. Simple steps can protect the hose from damage and wear. Follow these tips to keep your hose in good shape.
Storing The Hose Correctly
Store the hose in a cool, dry place. Avoid direct sunlight and extreme temperatures. Coil the hose loosely to prevent kinks and cracks. Use hooks or hangers designed for hoses. Do not fold or bend the hose sharply. Proper storage stops damage and extends the hose life.
Regular Inspection For Wear
Check the hose often for cracks or leaks. Look for worn or weak spots along the length. Pay attention to the ends and connections. Replace the hose if you find any damage. Regular checks prevent accidents and keep air pressure steady. A good inspection habit saves time and money.

Credit: www.amazon.com
Frequently Asked Questions
How Do I Replace A Porter Cable Air Compressor Hose?
First, disconnect the compressor from power. Remove the old hose by unscrewing fittings. Attach the new hose securely. Test for leaks before use.
What Size Hose Fits Porter Cable Air Compressors?
Most Porter Cable compressors use a 1/4 inch or 3/8 inch hose. Check your model’s manual for exact size specifications.
Can I Use Any Air Hose With Porter Cable Compressors?
Use hoses rated for compressor pressure and compatible fittings. Avoid cheap hoses that may burst or leak, ensuring safety and efficiency.
How Often Should I Replace My Air Compressor Hose?
Replace hoses showing cracks, leaks, or wear signs. Regular inspection every 6 months helps maintain optimal performance and safety.
Conclusion
Replacing the Porter Cable air compressor hose keeps your tool working well. A good hose stops air leaks and saves energy. Choose the right size and check for damage often. Quick and careful replacement helps avoid bigger problems later. Keep your compressor ready for any project.
Simple steps make your work easier and safer. Stay prepared by keeping your hose in top shape.