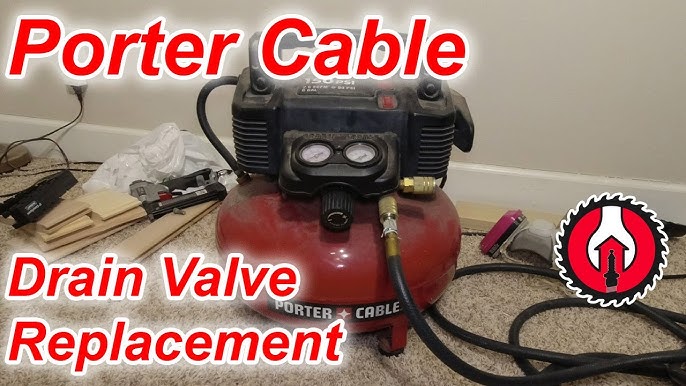
To replace the unloader valve on a Porter Cable air compressor, first, unplug the unit and release the air pressure. Then, remove the valve by unscrewing it and install the new one.
Replacing the unloader valve is essential for maintaining your Porter Cable air compressor’s performance. A faulty unloader valve can cause air leaks, reduced efficiency, and even compressor damage. This process may seem daunting, but with the right tools and guidance, you can complete it in no time.
Understanding the role of the unloader valve helps you appreciate its importance. This component allows air to escape from the pump, ensuring smooth operation. Follow these steps closely to ensure a successful replacement and keep your air compressor running efficiently for years to come.
Introduction To Unloader Valves
The unloader valve plays a crucial role in air compressors. It helps release air pressure when the compressor stops. This action prevents damage to the compressor and ensures safety. Understanding its function is essential for maintenance.
Purpose In Pressure Washers
The unloader valve serves several key functions in pressure washers:
- Pressure Control: It maintains optimal pressure levels.
- Safety: It prevents excessive pressure build-up.
- Efficiency: It allows for smooth operation of the machine.
This valve ensures that pressure washers work effectively without any risks. Proper functioning enhances the lifespan of the equipment.
Signs Of A Faulty Valve
Recognizing a faulty unloader valve is crucial. Here are some common signs to look for:
- Constant Pressure: Pressure does not drop when the trigger is released.
- Leakage: Air or water leaks from the valve.
- Unusual Noise: Loud sounds during operation indicate issues.
- Inconsistent Pressure: Fluctuations in pressure during use.
Addressing these signs early can prevent further damage. Regular checks can keep your pressure washer in top shape.
Credit: m.youtube.com
Tools And Materials Needed
Replacing the unloader valve on a Porter Cable air compressor requires specific tools and materials. Having the right items on hand makes the job easier and faster. Below is a detailed list to help you prepare.
List Of Essential Tools
- Wrench Set – A combination of adjustable and fixed wrenches.
- Screwdrivers – Both flathead and Phillips head screwdrivers.
- Pliers – Needle-nose pliers are particularly useful.
- Replacement Unloader Valve – Ensure compatibility with your model.
- Thread Sealant Tape – Helps prevent air leaks.
- Clean Cloth – For wiping surfaces and cleaning parts.
Safety Gear And Precautions
Safety is crucial during repairs. Wear the following gear to protect yourself:
- Safety Goggles – Protect your eyes from debris.
- Gloves – Use gloves to protect your hands.
- Dust Mask – Prevent inhalation of dust and particles.
Always work in a well-ventilated area. Ensure the compressor is unplugged before starting. This reduces the risk of electrical shock.
Preparing For Valve Replacement
Replacing the unloader valve on a Porter Cable air compressor requires careful preparation. Proper steps ensure safety and efficiency. Follow these guidelines to get ready for the task.
Shutting Down The System
Before starting any work, shut down the air compressor completely. This step is crucial for safety. Follow these steps:
- Turn off the power switch.
- Unplug the air compressor from the outlet.
- Allow the compressor to cool down.
Always ensure the compressor is off before touching any parts. This prevents accidental starts and injuries.
Pressure Release Procedures
Releasing pressure is vital before valve replacement. Follow these steps to safely release pressure:
- Locate the pressure relief valve.
- Open the valve slowly to release air.
- Wait until all air is out of the tank.
After pressure release, check the gauge. It should read zero. This confirms it is safe to proceed.
Use the following table for quick reference:
| Step | Description |
|---|---|
| 1 | Turn off the power switch. |
| 2 | Unplug the compressor. |
| 3 | Allow cooling time. |
| 4 | Open the pressure relief valve. |
| 5 | Check the pressure gauge. |
Follow these preparations closely. They ensure a smooth and safe valve replacement process.

Credit: www.amazon.com
Locating The Unloader Valve
Finding the unloader valve on your Porter Cable Air Compressor is vital for maintenance. This valve helps release pressure when the compressor shuts off. Knowing where to locate it saves time and effort.
Identifying Valve Components
The unloader valve has several key parts. Understanding these components makes identification easier.
- Valve Body: The main part that houses the mechanism.
- Inlet Port: Where air enters the valve.
- Outlet Port: Where air exits.
- Spring: Helps control pressure release.
- Seal: Prevents air leaks.
Familiarize yourself with these parts. They play a crucial role in the compressor’s operation.
Accessing The Valve
Gaining access to the unloader valve requires a few steps. Follow these instructions carefully.
- Turn off the air compressor and unplug it.
- Release all air from the tank.
- Remove the cover or protective casing.
- Locate the unloader valve near the compressor head.
Use a flashlight if visibility is low. Inspect the area around the valve for any obstructions.
Step-by-step Removal
Removing the unloader valve from your Porter Cable air compressor is crucial. Follow these steps to make the process easy and efficient. Each step is designed to ensure you can successfully replace the valve.
Disconnecting The Valve
Start by disconnecting the unloader valve. Use these steps:
- Turn off the air compressor.
- Unplug the power cord.
- Release all the air pressure.
- Locate the unloader valve.
- Use a wrench to loosen the connections.
- Carefully remove the valve from the compressor.
Keep the parts in a safe place for reassembly.
Tips For Stubborn Valves
Some valves may resist removal. Use these tips to help:
- Apply penetrating oil: Spray around the valve. Let it sit for 10-15 minutes.
- Use heat: A heat gun can expand metal. Be cautious not to damage other parts.
- Try a bigger wrench: More leverage can help loosen stubborn valves.
- Tap gently: Use a hammer to tap the valve gently. This can break the seal.
Stay patient. Sometimes, stubborn valves need extra care.

Credit: pacificaircompressors.com
Choosing A Replacement Valve
Choosing the right replacement valve is crucial for your air compressor. A compatible valve ensures optimal performance and longevity. Follow the steps below to make an informed choice.
Compatibility Considerations
Compatibility is key. Here are some factors to check:
- Model number: Verify your compressor’s model.
- Specifications: Match pressure ratings and sizes.
- Manufacturer: Use OEM or high-quality aftermarket valves.
Refer to your user manual for exact specifications. This will save time and avoid errors.
| Porter Cable Model | Compatible Valve Part Number |
|---|---|
| PCE6010 | PC1010 |
| PCE6010S | PC1020 |
| PCE4000 | PC1040 |
Where To Purchase
Finding the right valve is easy. Here are some reliable places:
- Online retailers: Websites like Amazon and eBay.
- Local hardware stores: Check their air compressor sections.
- Manufacturer’s website: Purchase directly from Porter Cable.
Compare prices and read reviews. This ensures you buy a quality valve.
Installing The New Valve
Replacing the unloader valve on your Porter Cable air compressor is crucial. Follow these steps to ensure a successful installation.
Sealing And Connections
Proper sealing is vital for the new unloader valve. Here are the steps to achieve this:
- Clean the valve seat with a cloth.
- Apply thread sealant to the valve threads.
- Carefully screw the new valve into place.
- Ensure the connections are tight.
Check for any visible gaps. A good seal prevents air leaks. Use a torque wrench for a secure fit.
Test For Proper Installation
Testing the installation is essential for performance. Follow these steps:
- Reconnect the air compressor to power.
- Turn on the compressor.
- Listen for any unusual noises.
- Check for air leaks around the valve.
Observe the compressor for a few minutes. If it operates smoothly, the installation is successful. If issues arise, double-check your connections.
| Step | Action |
|---|---|
| 1 | Reconnect power |
| 2 | Turn on compressor |
| 3 | Listen for noises |
| 4 | Check for leaks |
Successful testing ensures your compressor runs efficiently. A well-installed unloader valve keeps your compressor in top shape.
Maintenance Tips For Longevity
Maintaining your Porter Cable air compressor is essential for its longevity. Regular upkeep helps prevent breakdowns and costly repairs. Here are some effective maintenance tips to keep your compressor running smoothly.
Regular Inspection Schedule
Establish a regular inspection schedule for your air compressor. This helps identify issues early. Follow these steps:
- Check the unloader valve monthly.
- Inspect the air filter every two weeks.
- Examine the hoses for leaks or wear.
- Look at the pressure gauge for accuracy.
Regular checks will ensure all parts function properly. Replace any worn or damaged parts immediately.
Preventive Measures
Implement preventive measures to enhance your compressor’s lifespan. Here are some tips:
- Drain the tank daily to remove moisture.
- Keep the compressor clean from dust and debris.
- Store in a dry, cool place away from direct sunlight.
- Use correct oil for lubrication as per the manual.
Following these preventive measures will help avoid unexpected breakdowns. Proper care leads to better performance.
Frequently Asked Questions
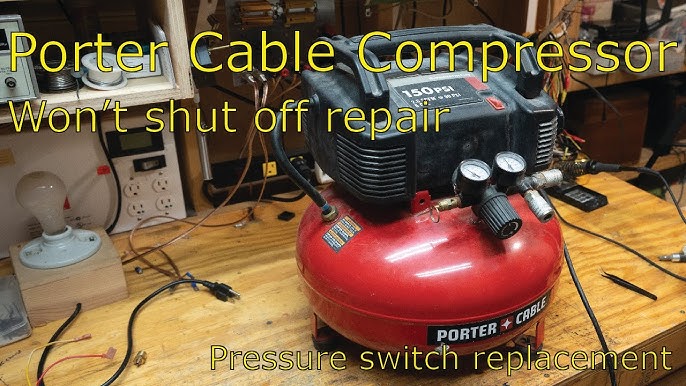
How Do I Know If My Unloader Valve Is Faulty?
A faulty unloader valve can cause your air compressor to not start or run continuously. Look for signs like excessive noise, air leaks, or difficulty in maintaining pressure. If your compressor frequently cycles on and off, it may indicate an issue with the unloader valve.
What Tools Are Needed To Replace The Unloader Valve?
To replace the unloader valve, you’ll need basic hand tools like a wrench, screwdriver, and pliers. Additionally, having a replacement unloader valve specific to your Porter Cable model is essential. Ensure you have safety gear like gloves and goggles to protect yourself during the process.
Can I Replace The Unloader Valve Myself?
Yes, replacing the unloader valve is a manageable DIY task. With basic mechanical skills and the right tools, you can follow video guides for assistance. Just ensure to follow safety precautions and consult your compressor’s manual for specific instructions related to your model.
How Long Does It Take To Replace An Unloader Valve?
Replacing an unloader valve typically takes about 30 minutes to an hour. The duration may vary based on your experience and the specific model of your Porter Cable air compressor. Make sure to allocate enough time for disassembly, replacement, and reassembly.
Conclusion
Replacing the unloader valve on your Porter Cable air compressor can significantly improve its performance. Following the steps outlined in the video ensures a smooth process. Regular maintenance will extend the lifespan of your compressor. Keep your tools in top shape for optimal results.
Happy compressing!