
To build an air compressor, gather the necessary tools and materials. Follow these steps for a functional DIY air compressor.
Building an air compressor can be a rewarding and cost-effective project for DIY enthusiasts. An air compressor is a versatile tool, useful for various tasks such as inflating tires, powering pneumatic tools, and spray painting. Before starting, ensure you have all required tools and materials, including a motor, compressor pump, air tank, pressure switch, and safety valve.
Carefully follow each step, prioritizing safety throughout the process. This guide will provide clear, concise instructions to help you successfully construct an efficient air compressor. By following these steps, you can create a reliable air compressor tailored to your specific needs.
Introduction To Diy Air Compressors
Building your own air compressor can be a fun and rewarding project. This guide will walk you through the necessary steps. Learn the benefits, tools, and materials needed.
Benefits Of Building Your Own
Creating an air compressor yourself has several advantages:
- Cost-effective: Save money by using parts you already have.
- Customization: Tailor it to your specific needs.
- Learning: Gain valuable skills and knowledge.
Essential Tools And Materials
To build an air compressor, gather these tools and materials:
| Tools | Materials |
|---|---|
| Wrench Set | Air Tank |
| Screwdriver | Pressure Gauge |
| Pliers | Compressor Motor |
| Teflon Tape | Safety Valve |
Ensure you have all the necessary items before starting.

Understanding Air Compressors
Air compressors are essential tools in many workshops and garages. They power various tools and make tasks easier. Understanding air compressors helps you build one effectively.
Types Of Air Compressors
There are several types of air compressors. Each type serves a different purpose. Here are the main types:
- Piston Compressors: These use a piston to compress air.
- Rotary screw compressors: These use two rotors to compress air.
- Scroll Compressors: These use two spiral elements to compress air.
- Portable Compressors: These are smaller and easy to move around.
Basic Components
Air compressors have several key components. Knowing these helps in building one:
| Component | Function |
|---|---|
| Motor | Drives the compressor pump. |
| Pump | Compresses the air. |
| Tank | Stores the compressed air. |
| Pressure Switch | Controls the air pressure. |
| Regulator | Adjusts the pressure of the outgoing air. |
Building an air compressor involves assembling these components. Each part plays a vital role. Ensure you understand each component before starting your project.
Preparing Your Workspace
Creating a safe and organized workspace is crucial for building an air compressor. This section will guide you through essential steps to prepare your workspace effectively.
Safety Precautions
Before you start, prioritize safety precautions to prevent accidents.
- Wear safety goggles to protect your eyes.
- Use gloves to safeguard your hands.
- Ensure proper ventilation in your workspace.
- Keep a fire extinguisher nearby for emergencies.
- Read and follow all tool manuals carefully.
Organizing Tools And Materials
Having all your tools and materials organized will save you time and effort.
| Tool | Purpose |
|---|---|
| Wrench | For tightening bolts and nuts |
| Screwdriver | For screwing and unscrewing screws |
| Drill | For drilling holes |
| Air tank | To store compressed air |
| Compressor motor | To generate compressed air |
Follow these steps to organize your workspace:
- Clear your workspace of any clutter.
- Arrange tools on a pegboard for easy access.
- Label your tools and materials.
- Ensure all tools are in good working condition.
By following these steps, you create a safe and efficient workspace. This preparation helps you focus on building your air compressor without interruptions.

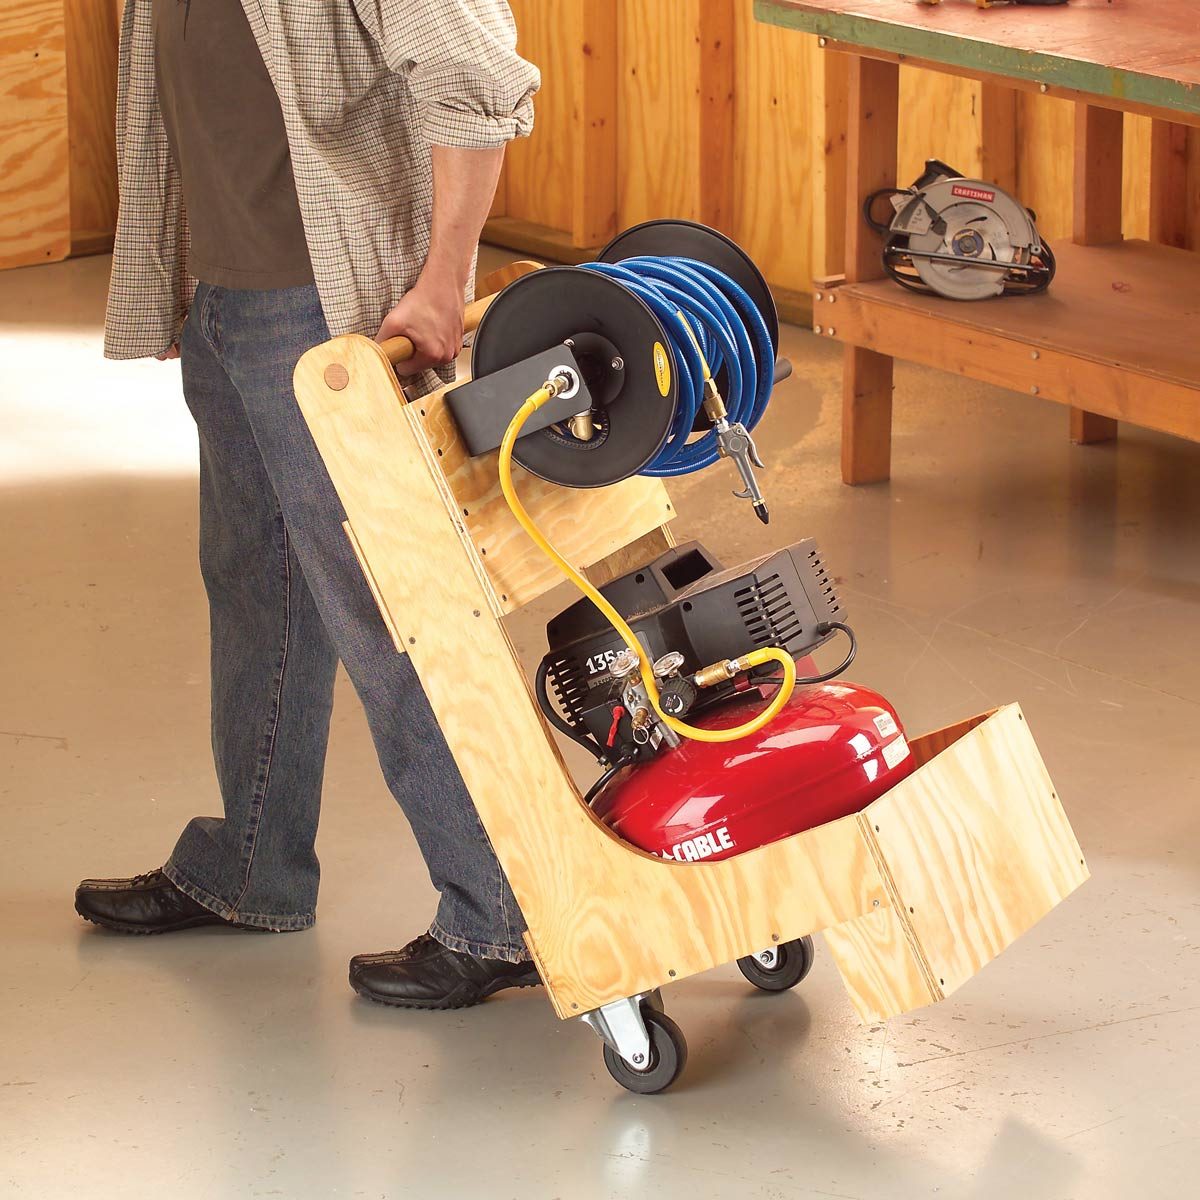
Constructing The Compressor Base
Constructing the compressor base is the first step in building your own air compressor. The base ensures your compressor remains stable. Follow these steps to create a strong, reliable base.
Selecting The Right Base
Choosing the correct base material is crucial. The base must support the weight of the compressor and components. Common materials include steel, aluminum, and wood.
- Steel: Very strong but heavy. Ideal for large compressors.
- Aluminum: Lightweight and strong. Good for medium-sized compressors.
- Wood: Easy to work with but less durable. Suitable for small compressors.
Assembling The Base Frame
After selecting the material, gather your tools. You will need a saw, drill, screws, and measuring tape. Follow these steps to assemble the base frame:
- Measure: Determine the dimensions for your base. Ensure it is wide enough to support the compressor.
- Cut: Cut your base material to size using a saw.
- Drill: Drill holes for screws at each corner of your base.
- Assemble: Connect the pieces using screws. Make sure the frame is square.
Ensure all pieces are tightly secured. A sturdy base frame prevents vibrations and movement.
Installing The Motor
Installing the motor is a critical step in building an air compressor. The motor powers the compressor and ensures it operates efficiently. This section will guide you through the essential steps to choose and mount the motor.
Choosing The Motor
Selecting the right motor is vital. The motor should match the compressor’s power requirements. Here are some key factors to consider:
- Horsepower (HP): Ensure the motor has sufficient horsepower.
- Voltage: Check if your power supply matches the motor’s voltage.
- RPM: The motor’s speed in revolutions per minute should suit your compressor.
- Type: Choose between single-phase or three-phase motors based on your power source.
| Motor Specification | Recommendation |
|---|---|
| Horsepower (HP) | 1.5 to 2 HP for small compressors |
| Voltage | 110V for household use, 220V for industrial |
| RPM | 3450 RPM for most compressors |
| Type | Single-phase for home, three-phase for industrial |
Mounting The Motor
Mounting the motor correctly ensures stability and efficiency. Follow these steps to mount your motor:
- Prepare the Mounting Plate: Ensure the plate is clean and free of debris.
- Align the Motor: Place the motor on the mounting plate and align it with the compressor.
- Secure the Motor: Use bolts to attach the motor to the plate securely.
- Check Alignment: Ensure the motor’s shaft aligns with the compressor’s coupling.
- Tighten Bolts: Tighten all bolts to prevent any movement during operation.
Proper installation of the motor ensures your air compressor runs smoothly and efficiently. Follow these guidelines for a successful build.
Attaching The Pump
Attaching the pump is a crucial step in building your air compressor. The pump is the heart of the compressor, converting power into pressurized air. Let’s dive into how you can attach the pump properly.
Types Of Pumps
Different pumps suit different needs. Here are common types:
- Piston Pumps: Ideal for high-pressure tasks.
- Rotary Screw Pumps: Great for continuous use.
- Diaphragm Pumps: Perfect for low-volume tasks.
Choose a pump that matches your requirements. Ensure it fits the compressor’s specifications.
Securing The Pump To The Base
Follow these steps to secure your pump:
- Prepare the Base: Clean the base and ensure it’s level.
- Align the Pump: Place the pump on the base, aligning the holes.
- Use Bolts: Secure the pump using bolts and nuts. Tighten them well.
- Check Stability: Ensure the pump is firmly attached. It should not wobble.
Tip: Use a table or a sturdy platform to keep the base steady.
Double-check all connections. Ensure there are no loose parts.
Connecting The Air Tank
Connecting the air tank is a crucial step in building your air compressor. This section will guide you through the process of selecting and attaching the air tank to your system.
Selecting The Air Tank
Selecting the right air tank is essential for your air compressor’s efficiency. Consider the following factors:
- Size: Choose a tank that meets your air needs.
- Material: Steel tanks are durable; aluminum tanks are lightweight.
- Pressure Rating: Ensure the tank can handle your compressor’s pressure.
A table below summarizes these factors for quick reference:
| Factor | Details |
|---|---|
| Size | Matches air requirements |
| Material | Steel or Aluminum |
| Pressure Rating | Handles compressor pressure |
Attaching The Tank To The System
Attaching the tank to your system involves a few simple steps. Follow the instructions below:
- Mount the Tank: Secure the tank to a stable base.
- Connect the Outlet: Attach the tank’s outlet to the compressor.
- Seal the Connections: Use Teflon tape to prevent leaks.
Here are some key points to remember:
- Safety: Ensure all connections are tight and secure.
- Testing: Test the system for leaks before use.
- Maintenance: Regularly check and maintain the tank.
Following these steps ensures your air compressor works efficiently and safely.
Wiring And Final Assembly
Building an air compressor can be fun and rewarding. The final steps involve wiring and assembling all components. This phase ensures your air compressor works safely and efficiently.
Electrical Connections
First, gather all required materials. You will need wires, connectors, and a circuit breaker. Here’s a simple table for your reference:
| Material | Purpose |
|---|---|
| Wires | Connect electrical components |
| Connectors | Secure wire connections |
| Circuit Breaker | Protect against electrical overload |
Steps to follow:
- Turn off the main power supply.
- Connect the power cord to the pressure switch.
- Run a wire from the switch to the motor.
- Use connectors to secure the wires.
- Install the circuit breaker in the power line.
Safety Tips:
- Always wear safety gloves.
- Double-check all connections.
- Ensure no wires are exposed.
Testing The Compressor
After wiring, it’s time to test the compressor. Follow these steps:
- Turn on the main power supply.
- Switch on the air compressor.
- Listen for unusual noises.
- Check the pressure gauge for proper readings.
- Inspect for any air leaks.
Final Checklist:
- Ensure all nuts and bolts are tight.
- Verify the pressure switch works correctly.
- Confirm the safety valve operates properly.
With these steps, your DIY air compressor is ready to use!
Maintenance And Troubleshooting
Building an air compressor is a rewarding project. It is important to maintain it properly and troubleshoot issues promptly. This guide will provide essential Maintenance tips and common troubleshooting methods.
Routine Maintenance Tips
Regular maintenance ensures your air compressor runs smoothly. Follow these tips:
- Check oil levels: Ensure the oil is at the correct level. Low oil can damage the compressor.
- Inspect air filters: Clean or replace filters regularly. Dirty filters reduce efficiency.
- Drain the tank: Water can accumulate in the tank. Drain it daily to prevent rust.
- Tighten bolts: Vibrations can loosen bolts. Check and tighten them monthly.
- Check hoses: Inspect for leaks or wear. Replace damaged hoses immediately.
Common Issues And Fixes
Even with regular maintenance, problems can arise. Below are common issues and their fixes:
| Issue | Fix |
|---|---|
| Compressor won’t start | Check the power source. Ensure the switch is on. |
| Low pressure | Inspect for leaks. Check if the valve is open. |
| Overheating | Ensure proper ventilation. Clean the cooling fins. |
| Unusual noise | Check for loose parts. Tighten any loose bolts. |
| Air leaks | Use soapy water to find leaks. Replace faulty parts. |
Regular inspections and timely fixes extend your compressor’s life. Stay proactive about maintenance.
Frequently Asked Questions
How Do I Start Building An Air Compressor?
Begin by gathering all necessary materials and tools. Follow a detailed guide for step-by-step instructions. Ensure safety precautions are in place.
What Materials Are Needed For An Air Compressor?
You’ll need a motor, tank, pressure switch, hoses, and fittings. Ensure all parts are compatible and high-quality for the best results.
Can I Use Household Items To Build An Air Compressor?
Yes, some household items like old tanks and motors can be repurposed. Ensure they meet safety standards and are in good condition.
How Long Does It Take To Build An Air Compressor?
It typically takes a few hours to a day, depending on your experience. Follow a detailed guide to streamline the process.
Conclusion
Building your own air compressor can be a rewarding project. By following these steps, you can save money and gain valuable skills. Remember to prioritize safety and double-check your work. With patience and attention to detail, you’ll have a functional air compressor ready for use.
Happy building!