You will need a few tools and about 30 minutes to remove an AC compressor clutch. First, disconnect the negative battery terminal to prevent any electrical shorts. Next, use an AC clutch pulley remover tool to remove the center bolt holding the clutch in place.
With the bolt removed, the clutch should be loose on the shaft. Use a pry bar to remove the clutch from the shaft carefully.
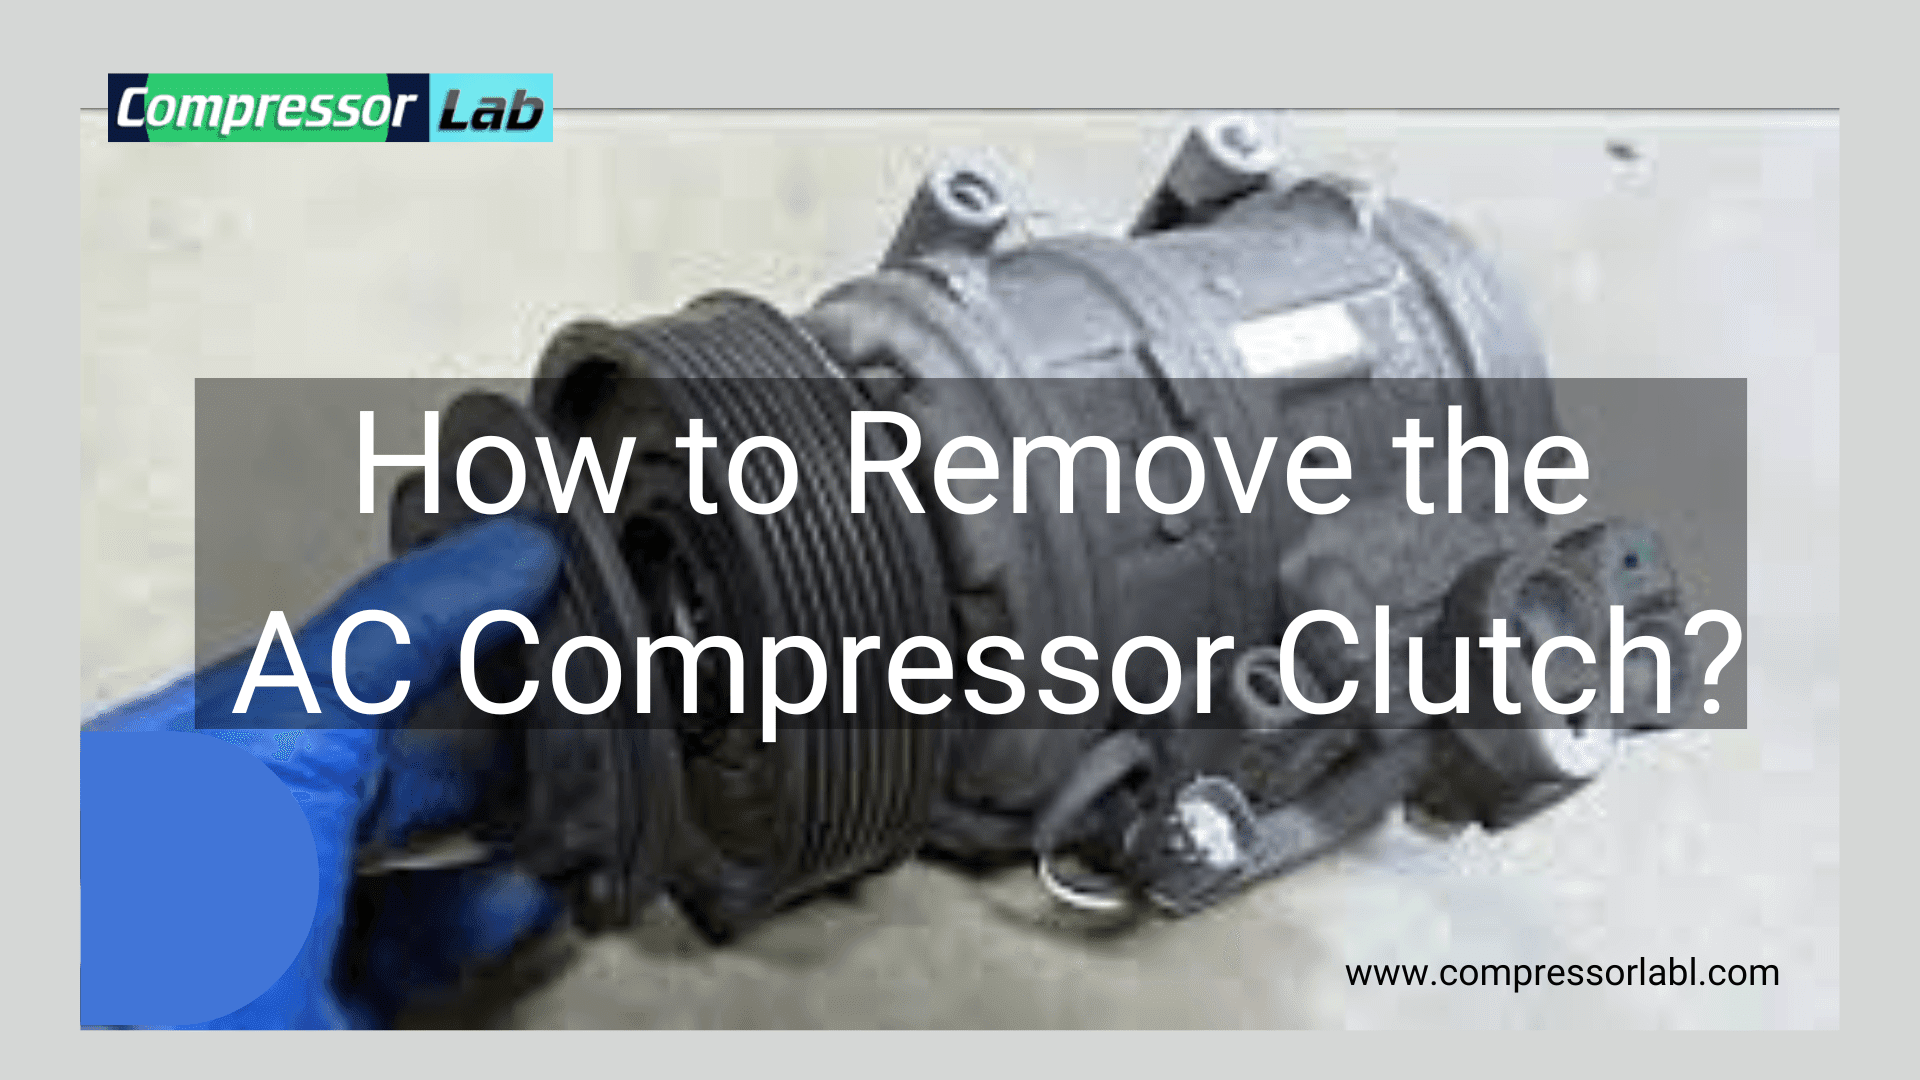
- Park the vehicle on a level surface and set the emergency brake
- Pop the hood and locate the compressor clutch
- The clutch is usually located at the front of the engine, near the belts
- Disconnect the negative battery cable with a wrench to prevent an electrical short
- Remove any bolts or screws holding the compressor clutch in place with a socket or ratchet set
- Pull the compressor clutch off of the compressor shaft
Can You Remove Ac Compressor Clutch Without Removing the Compressor?
Yes, you can remove the AC compressor clutch without removing the compressor. The process is relatively simple and requires no special tools or equipment. First, you will need to disconnect the negative battery cable.
Next, locate the AC compressor clutch pulley and remove the retaining nut with a wrench. Be sure to hold onto the clutch plate so it does not fall off when you remove the nut. With the retaining nut removed, you can slide the clutch plate off the shaft.
You may need to use a pry bar or something similar to get it started. Finally, remove the bolts that hold the compressor bracket in place and carefully pull the compressor away from the engine bay.
How Long Does It Take to Replace an Ac Compressor Clutch?
Assuming you are referring to a car AC compressor clutch, it depends. Replacing an AC compressor clutch can be done in as little as 30 minutes, or it could take a few hours. It all depends on the type of vehicle, and whether or not you have to do any other repairs while you’re in there.
For example, if the compressor itself is damaged, it will need to be replaced, which will take longer. In some cases, the entire AC system may need to be flushed out and refilled, which could add even more time to the job.
Can You Replace the Clutch on a Compressor?
If your compressor clutch is not working, it may be time to replace it. Although you can take your compressor to a mechanic, you can save money by doing the job yourself. This guide will show you how to replace the clutch on a compressor.
Before starting, ensure you have all the necessary tools and parts. You will need a new clutch, a ratchet set, and various sockets. You should also have easy access to a lift or jack to get under the vehicle.
Once you have everything ready, begin by disconnecting the battery. Next, locate the compressor underneath the hood and remove the bolts that hold it in place. Carefully remove the old compressor and discard it.
Install the new compressor by reversing the removal process. Be sure to tighten all of the bolts securely before moving on. Reconnect the battery and start up your vehicle.
The clutch should now be functioning properly!
Can You Drive Without Ac Compressor Clutch?
Yes, you can drive without an AC compressor clutch, but it is not recommended. The clutch is responsible for engaging the compressor when the AC is turned on. Without it, the compressor will not work and your AC will not function properly.
Additionally, driving without a working AC compressor can stress other components of your car’s AC system and may lead to more serious issues. If your car’s AC system is not working properly, we recommend taking it to a certified mechanic for diagnosis and repair.
How to Use Ac Clutch Removal Tool
When removing an AC clutch, there are a few different ways you can go about doing it. One of the most popular methods is to use an AC clutch removal tool. This tool is specifically designed to remove AC clutches quickly and easily, and it can be found at most auto parts stores.
To use the tool, insert it into the center of the clutch and turn it counterclockwise until it pops off. Once the clutch is removed, you’ll be able to access the compressor without any issues.
Homemade Ac Clutch Removal Tool
If your car’s air conditioner isn’t working as well as it used to, there’s a good chance that the problem is with the clutch. The clutch engages and disengages the compressor, and it can wear out over time. If you’re handy with tools, you can remove and replace the clutch at home, and here’s how.
Before you get started, you’ll need a few things: a socket set, an extension cord, a ratchet, and a torque wrench. You’ll also need a new clutch kit for your car. Once your supplies are gathered, park your car on a level surface and pop the hood.
Locate the compressor under the hood – it should be near the front of the engine bay on the passenger side. Disconnect the negative battery cable to prevent any electrical shorts. Then use your sockets to remove the bolts that hold the compressor in place.
Carefully pull out the compressor (it may be necessary to wiggle it a bit) and disconnect any wiring or hoses that are still attached. Now it’s time to work on removing the old clutch from the compressor pulley. There are three bolts holding it in place – two large ones flanking a smaller one in the center.
Remove these bolts (save them – you’ll need them later), and then pry off the old clutch using a flathead screwdriver or similar tool. Be careful not to damage the pulley or the shaft during this process! With the old clutch removed, clean up any debris around the shaft, so it’s ready to install the new one.
Installing the new clutch is a reversal of the removal procedure. First, line up the new clutch with the shaft and start two of three bolts by hand to prevent stripping. Once all the restarted, use the socket and torque wrench to finish tightening to a specified level.
Reconnect wiring and hoses before reinstalling the compressor unit.Bolt into place and resto repower to the compressor by reconnecting the battery cable. Turn on the A / C system to test the newly installed clutch for proper operation!
How to Remove Ac Clutch Without Tool
If your car’s air conditioner isn’t working, one possible issue could be the A/C clutch. The clutch is responsible for engaging and disengaging the compressor, which is what circulates the refrigerant and cools the air. If the clutch is worn out or damaged, it can prevent the compressor from engaging, and as a result, your A/C won’t work.
In most cases, you’ll need a special tool to remove the A/C clutch (typically called an “A/C clutch removal tool”). However, if you don’t have this tool on hand, there are still ways to remove the clutch without it. Here’s a step-by-step guide on how to do so:
1) First, disconnect the battery to prevent any accidental electrical shorts. Then locate the A/C compressor (it should be near the front of the engine). 2) Once you’ve found the compressor, take a look at the pulley that’s attached to it.
There will be two bolts holding it in place – one at 12 o’clock and one at 6 o’clock. Use a wrench or socket to loosen and remove these bolts. 3) With both bolts removed, you should now be able to pull off the pulley.
Be careful not to damage any of the surrounding components as you do so. 4) Now, take a look at where the pulley was mounted onto the compressor itself. There will be a small retaining clip holding it in place (at 12 o’clock).
Use a pair of needle-nose pliers or another similar tool to remove this clip.
How to Remove Ac Compressor Pulley
If your car’s air conditioning compressor pulley is making noise or the AC isn’t working properly, you may need to remove and replace the pulley. Here’s a step-by-step guide on how to do just that:
- Disconnect the negative battery cable.
- Using an A/C clutch removal tool, remove the center nut from the compressor shaft. 3. Remove the bolts that secure the compressor mounting bracket to the engine block. 4. Carefully lower the compressor and disconnect the electrical connector from it.
Then remove any other hoses or lines that are attached to the compressor. 5. Install the new compressor in reverse order of removal and recharge the A/C system according to the manufacturer’s specifications.
Replace the AC clutch Without Removing the Compressor
If your car’s air conditioning (A/C) isn’t blowing cold air as it used to, there’s a good chance that the A/C clutch is the culprit. The A/C clutch is what engages the compressor, which in turn circulates the refrigerant through the system. When the clutch goes bad, it can prevent the compressor from engaging, leaving you with warm air instead of cool.
Fortunately, replacing an A/C clutch is relatively easy and can be done without removing the compressor. Here’s a step-by-step guide to help you get the job done: 1. Locate the A/C compressor.
It will be located near the front of your engine, on either the passenger or driver’s side. 2. Disconnect the negative battery cable. This will prevent electrical shorts while you’re working on the system.
- Remove any belts or covers that are in the way of accessing the A/C compressor clutches. You may need a wrench or socket set to remove these items. 4.
Using a screwdriver or similar tool, gently pry off the old A/C clutch plate from its shaft on the back of the compressor. Be careful not to damage either surface. There may be a gasket or seal between them, so inspect it for wear and replace it if necessary.
Some models have a retaining clip holding the plate in place; if so, remove it before attempting to pry off the plate. Pry evenly around the circumference of the plate until it pops free 5Installthe new clutch plate making sure that it’s properly aligned with the shaft Installany retaining clips or bolts that hold it to the compressor shaft 6Reattach allbeltsandcoversRemoveyourautomotivejackor stands 7Reconnectthenegativebatterycable 8Startyourengineandtest the new clutch by turning on the airconditioning 9 If everything is working properly, enjoy your cool summer days!
How to Remove Stuck Ac Clutch
If your car’s AC clutch is stuck, there are a few things you can do to try and remove it. First, make sure that the power to the AC system is turned off. Next, use a screwdriver or other tool to pry the clutch plate off of the compressor.
Once the plate is removed, you should be able to see the clutch coil. Use a pair of pliers to remove the coil from the compressor shaft. Finally, clean any debris from the inside of the compressor housing and reassemble everything.
Ac Compressor Pulley Replacement
Your car’s air conditioner is one of the most vital parts of your vehicle, and it needs to be in good working order to keep you comfortable during those hot summer days. One of the most important parts of your AC system is the compressor pulley, which helps to circulate refrigerant throughout the system. If your compressor pulley becomes damaged, it can cause a number of problems with your AC system, and it may eventually need to be replaced.
If you notice that your AC system isn’t working as well as it used to, or if you hear a strange noise coming from under the hood, then it’s possible that your compressor pulley is starting to fail. In some cases, you may be able to have the pulley repaired, but in other cases, you’ll need to replace it entirely. Replacing a compressor pulley is a fairly straightforward process, but it’s always best to leave it to a professional mechanic who can ensure that everything is done correctly.
If you’re facing a compressor pulley replacement, don’t hesitate to contact your local auto repair shop for help. They’ll be able to diagnose the problem and recommend the best course of action for getting your AC system back up and running again.
Toyota Ac Clutch Removal
The Toyota A/C clutch is a vital component of your vehicle’s air conditioning system. If your clutch is not functioning properly, it can cause your A/C compressor to overheat and fail. In order to prevent this from happening, it is important to know how to remove the clutch so that you can replace it if necessary.
Here are the steps you need to follow in order to remove the A/C clutch on your Toyota: 1) Park your vehicle in a safe location and turn off the engine. Make sure that the parking brake is engaged and that the wheels are choked before beginning any work on your vehicle.
2) Disconnect the negative battery terminal using a wrench. This will help prevent any accidental electrical shocks while you are working on your car. 3) Locate the A/C compressor clutch assembly near the front of the engine bay on the driver’s side.
The assembly will have two electrical connections and one large nut holding it in place. 4) Using a wrench, loosen and remove the large nut that secures the assembly in place. Be careful to keep this nut, as it may be difficult to find once it falls into the engine bay.
5) Gently pull on the assembly until it comes free from its mounting bracket. You may need to wiggle it back and forth slightly in order to get it loose. Once it is free, carefully set it aside so that you do not damage any of its components.
Conclusion
If your car’s air conditioner isn’t working properly, one possible cause is a problem with the compressor clutch. The compressor clutch is what engages the air conditioning compressor when you turn on the AC. If it’s not working, the compressor can’t do its job and your car won’t be able to cool down.
Luckily, you can usually tell if there’s a problem with the compressor clutch just by looking at it. If the clutch is engaged, the pulley should be turning. If it’s not, then there’s probably an issue with the clutch.
In most cases, you’ll need to replace the entire clutch assembly in order to fix the problem.